Building a Thread network for Home Assistant
July 24, 2026 • 👁️ Loading...
Thread is a low-power mesh networking protocol that's becoming the backbone of modern smart homes. I've always liked the idea of an automated home. In fact I started a company called Sensr.net that I thought would be part of this ecosystem but we never got there.
Anyway, I liked the Alexa home automation stuff and still use it alongside Home Assistant. But I'm trying to get off the cloud as much as possible so I started replacing all my devices with Thread and HA instead of Wi-Fi and Alexa.
Why Thread? It's fast and good for low power. I wanted to detect doors being opened, because we live on the beach in Puerto Rico, I want to keep all the doors to the storage rooms closed. I ran across the IKEA Thread enabled door sensors so that was the driving use case for me. Thread is designed for low power and IKEA devices are great: they're cheap and have a big name behind them. The fact that IKEA is all in on Thread made it very attractive for me.
Thread is basically like Wi-Fi but on a different radio frequency optimized for low-power devices. Learn more at the Thread Group official website.
What is Thread?
Thread is an IP-based wireless protocol designed specifically for IoT devices. It's built on IEEE 802.15.4 and creates a self-healing mesh network where devices can relay messages through each other to extend range and reliability. Unlike Wi-Fi, Thread is designed for low-power devices that can run for years on batteries.
The fact that it gives out IPv6 addresses is cool but frankly not something you will deal with at all. I didn't even know this until today, when I was researching this blog post. See the Thread vs. Wi-Fi: Under the Hood section below.
Drawbacks of Thread
It's new so devices are still a little flaky and more expensive than Wi-Fi or Zigbee versions. I still get excited when I hear about new Thread devices. I've also made the mistake of buying Matter/Wi-Fi switches thinking that they were Thread so beware. Just because it says Matter doesn't mean it's Thread.
It's also a lot of work to make sure you've covered your home properly. But Wi-Fi or Zigbee have the same issues.
Getting Started with Thread in Home Assistant
Before you can use Thread devices, you need a Thread border router. This is a device that bridges your Thread network with your home network so Home Assistant can communicate with Thread devices.
Thread Border Router Options
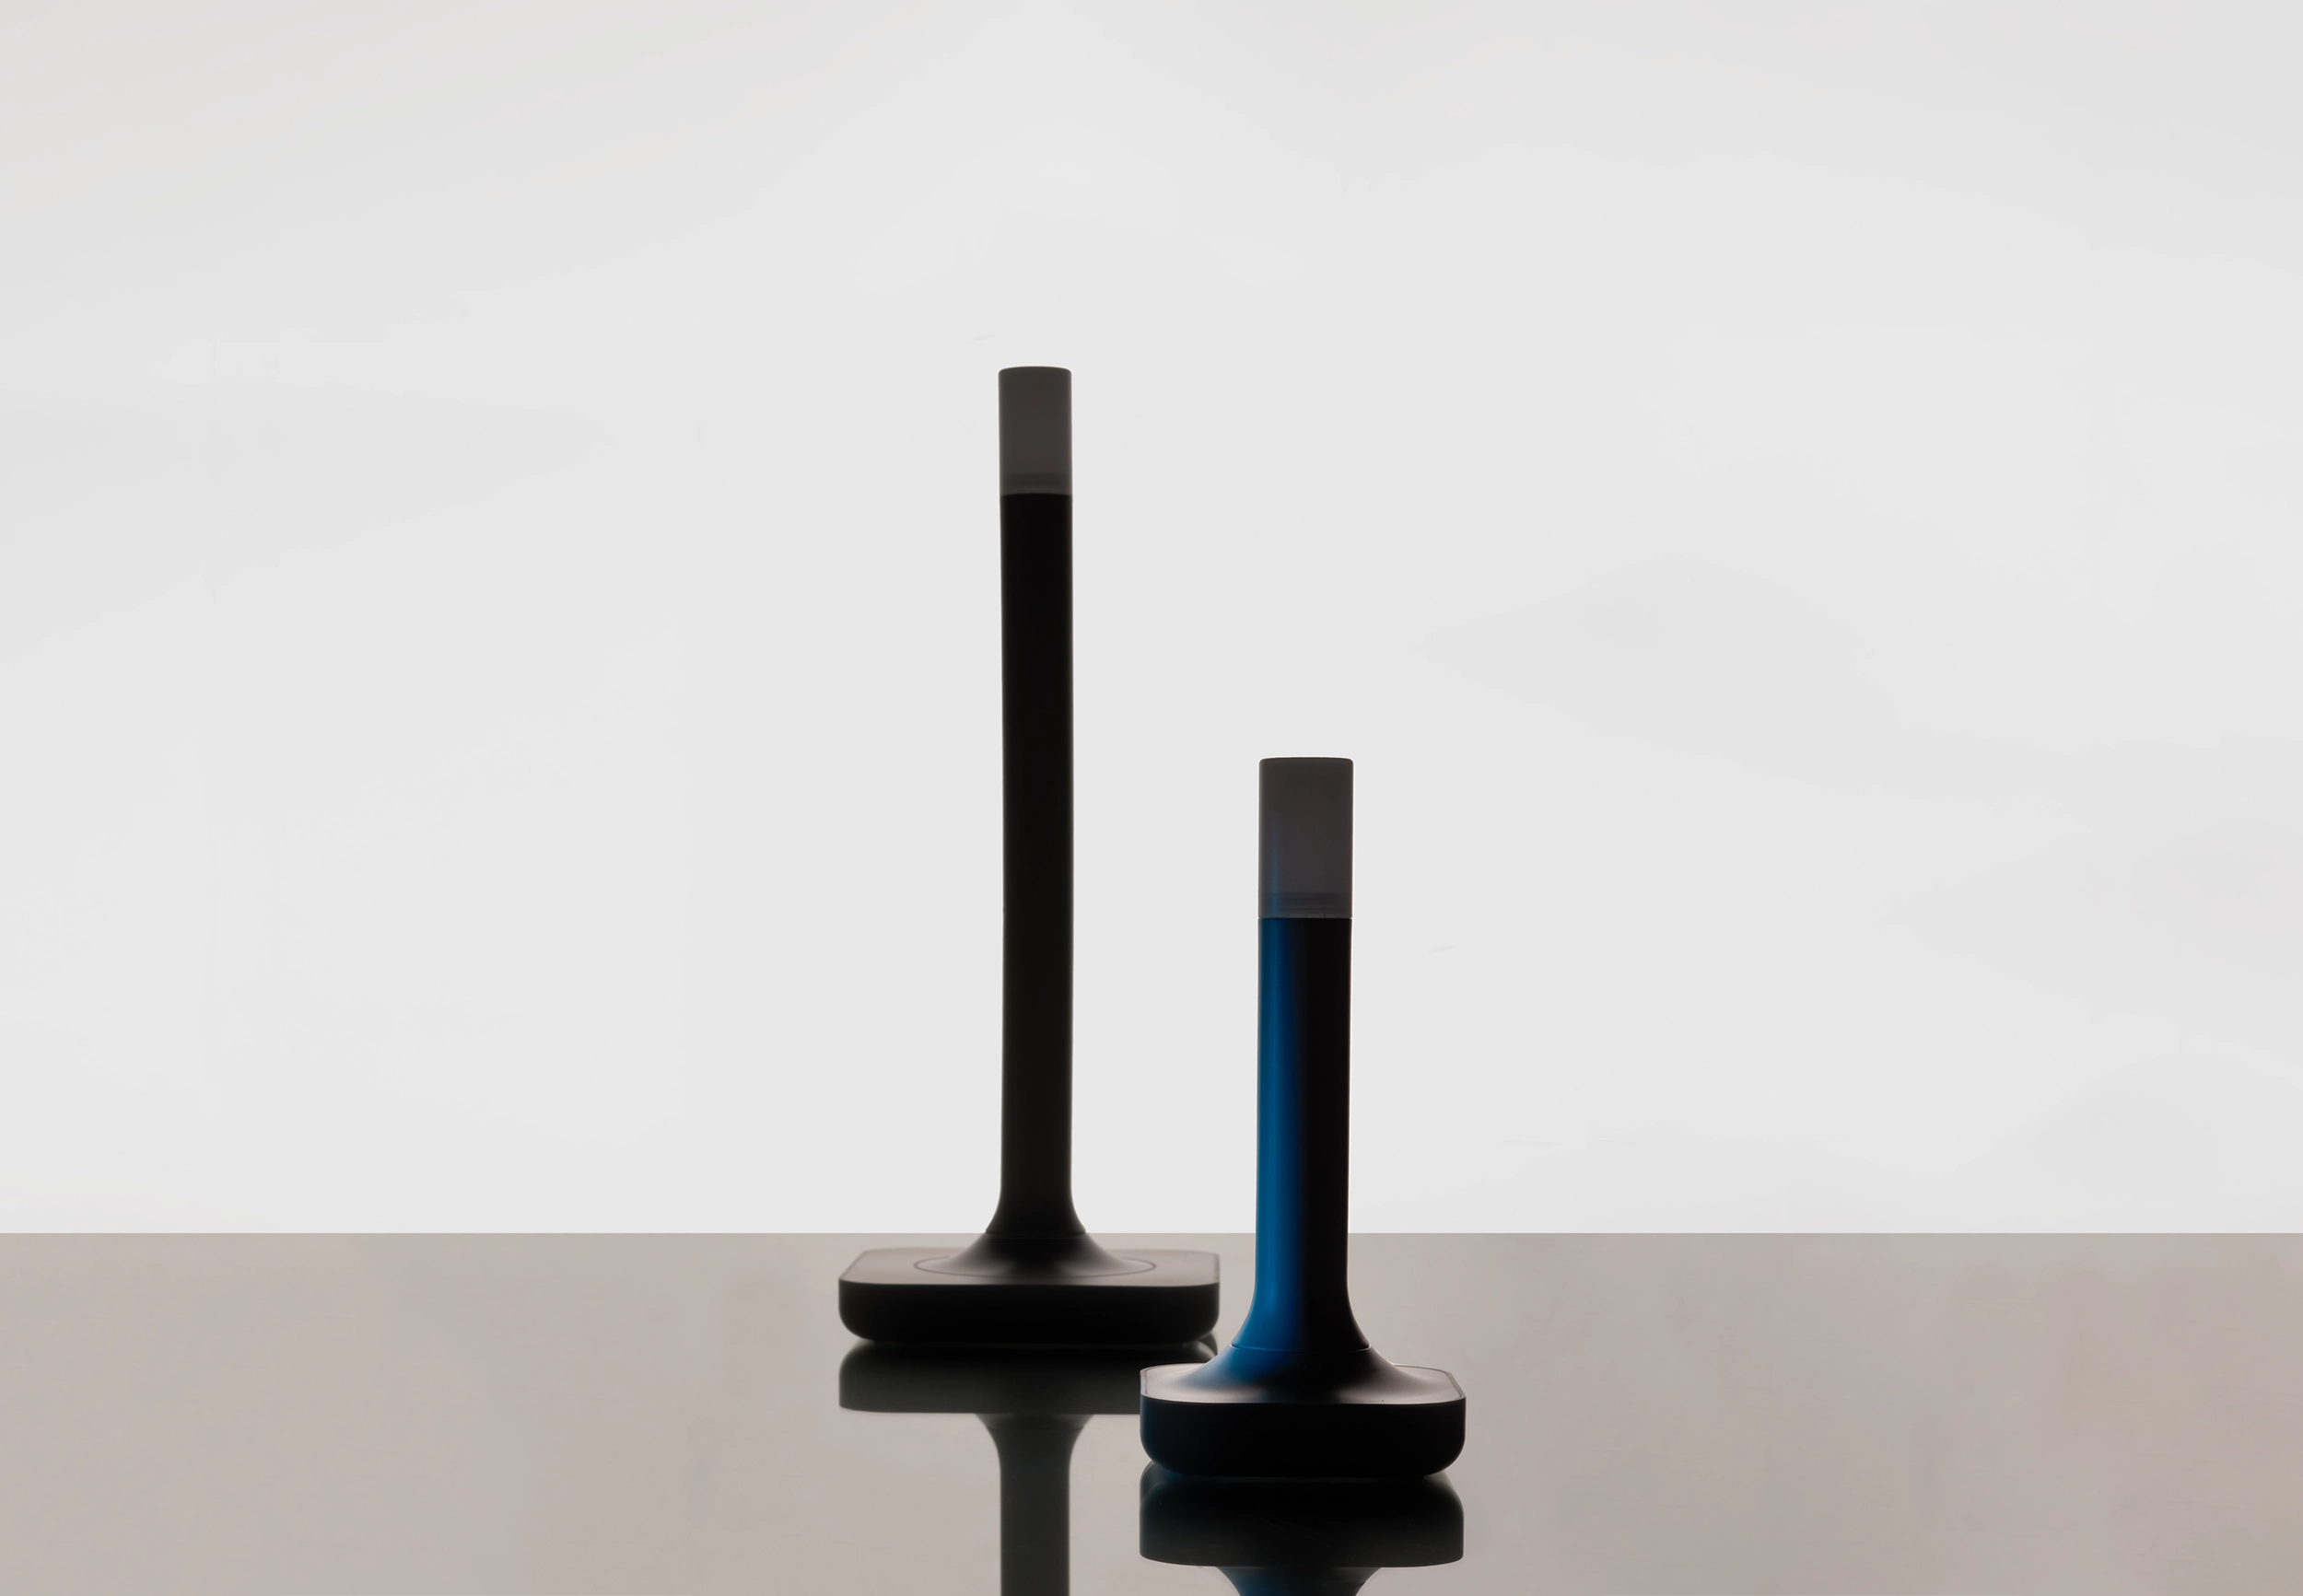
The Home Assistant ZBT-2 is the latest border router from the team behind Home Assistant, so that's the one I recommend getting. If you're building a HA system, this is the way to go. You can also build a Thread network using Apple HomePod mini and Eero, but if you're doing HA you should stick with the ZBT-2. It comes with a sturdy little base and a 1.5-meter cable so you can place it away from hardware interference.
Adding Your First Thread Device
Once your border router is set up, adding Thread devices to Home Assistant is straightforward. Use the Home Assistant Companion app (iOS or Android). You scan a QR code on the device and this tells Matter the details. Your phone then talks BLE to the device and sends over the network info. Mostly this works seamlessly. I did have an issue at one point where my iPhone didn't have the right creds for some reason. I spent a lot of time trying to get my iPhone to re-sync with HA. There have been a lot of updates to the iOS app and HA since then, so hopefully these gotchas are worked out.
Common Thread Devices
Popular Thread-enabled devices include:
- Lighting: IKEA KAJPLATS
- Switches & Outlets: Inovelli White Series, Onvis Smart Plugs
- Sensors: IKEA Thread Devices
Building a Reliable Thread Network
One of the more challenging parts of my Home Assistant setup wasn't Wi-Fi, it was building a reliable Thread network.
Thread works extremely well once it's configured properly, but it's very different from Wi-Fi. You can't just add a few battery-powered sensors and expect everything to work. Coverage and network topology matter.
My Hardware
My setup is based on:
- Home Assistant Green
- Home Assistant ZBT-2 USB radio configured as a Thread Border Router
The ZBT-2 supports both Zigbee and Thread, but I'm using it exclusively for Thread. Be sure it's flashed and configured appropriately for your intended use.
The Biggest Lesson: Battery Devices Don't Extend the Network
The most important thing I learned is that battery-powered Thread devices are endpoints, not repeaters.
If your network only consists of battery-powered sensors, your Thread mesh won't grow very far.
To build a strong mesh, you need mains-powered Thread devices, which act as Thread Routers and extend coverage throughout the house.
Devices That Worked Well
Inovelli White Series Switches
These became the backbone of my Thread network. The hardware is top notch and has lots of cool options for automations. You can do gestures like 'double tap' either on up or down paddles. It has an LED bar that you can program for status. I have mine at the front door flash red if the gate is left open for too long...
Because they're permanently powered, they act as Thread Routers and create a solid mesh. Since light switches are naturally distributed throughout the house, they make excellent infrastructure devices.
Highly recommended if you're wiring a new house or replacing switches anyway.
Eve Switches
I also installed several Eve Thread switches. They are simpler than the Inovelli, but pretty solid as Thread routers.
Like the Inovelli switches, the Eve switches are mains-powered and strengthen the mesh. They integrated cleanly into Home Assistant and have been very reliable.
Onvis Thread Smart Plugs
These turned out to be incredibly useful.
They're inexpensive, easy to move around, and can be plugged into different locations while you're experimenting with coverage.
When I found a weak spot in the network, I could simply move one of the smart plugs to reinforce that area.
They're probably the fastest and easiest way to improve a Thread network without changing wiring. However, I have had one fail in the first few months and another one seems to be flaky. I might need to try another brand. I use one to control my yard lights and another one to control a dehumidifier.
Smartwings Roller Shades
I've had great success with Smartwings Matter over Thread roller shades.
They're battery powered and connect easily into Home Assistant. I can control them from automations or manually via HA, which is a nice bonus. I installed them without the guide wire, and so it's important that they are not down when the wind is up. I use the ECOWITT weather station to monitor the wind and put the shades up if it's too windy.
IKEA Thread Devices
Once the backbone of the mesh was in place, I started adding battery-powered Thread devices. These are my favorite devices:
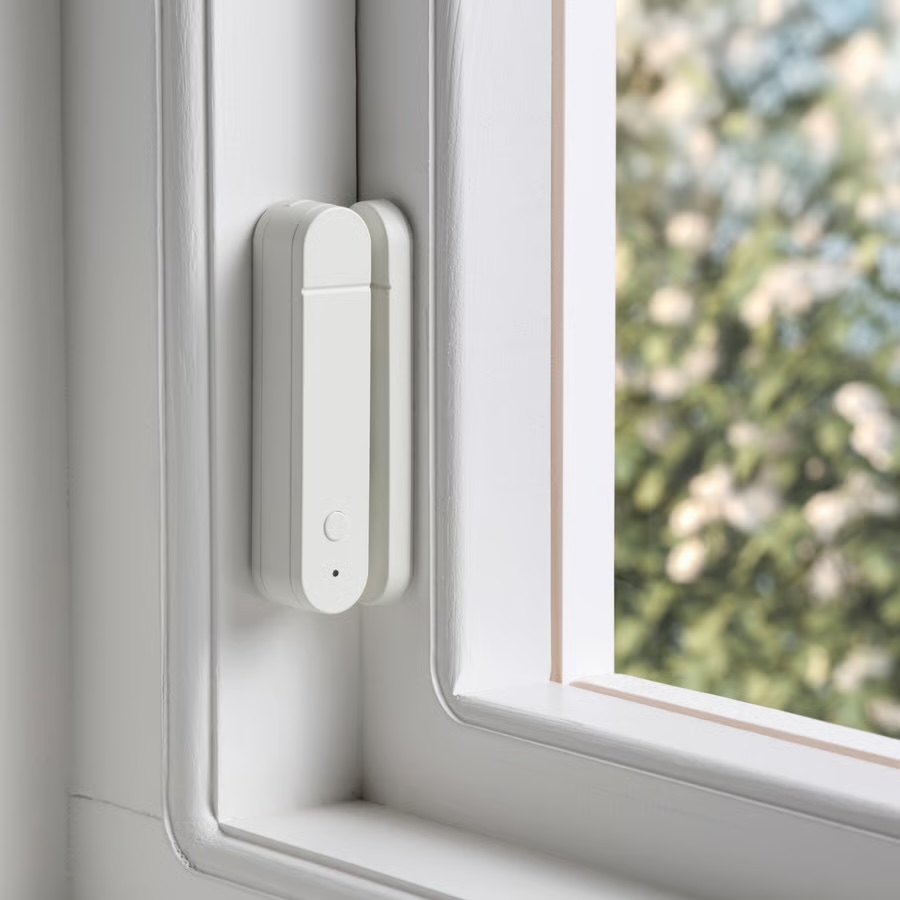
- MYGGBETT Door/Window Sensor
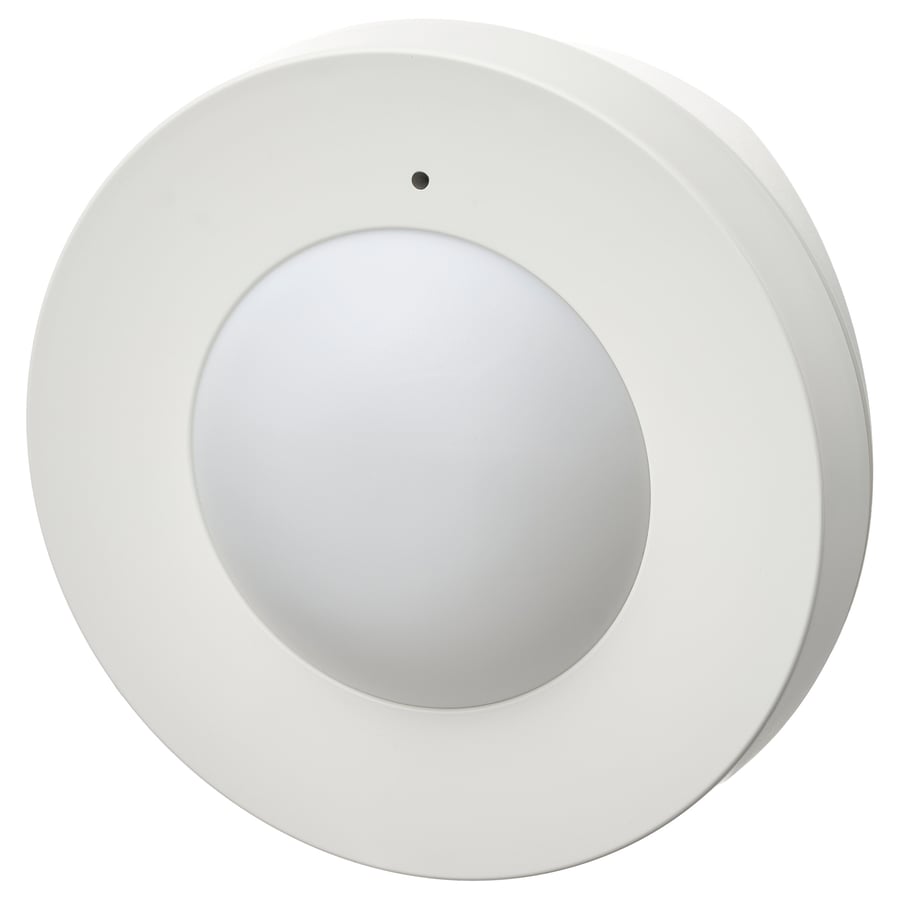
- MYGGSPRAY Wireless Motion Sensor
- BILRESA Remote Control with Dual Button
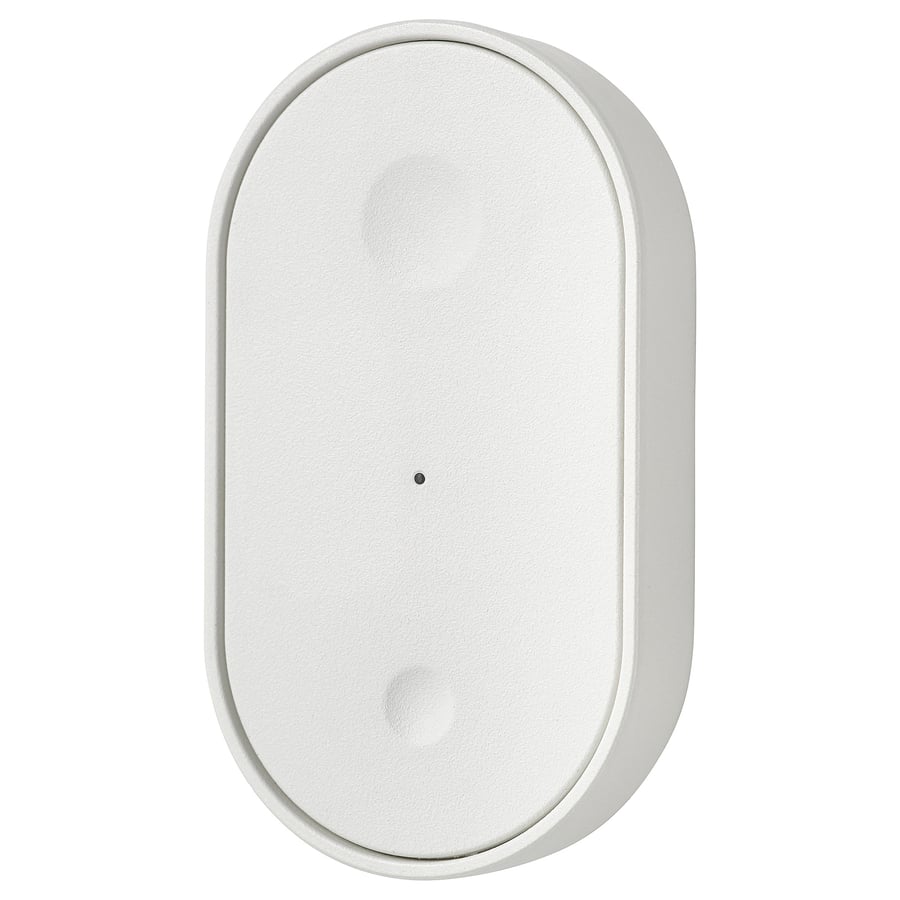
- BILRESA Remote Control with Scroll Wheel
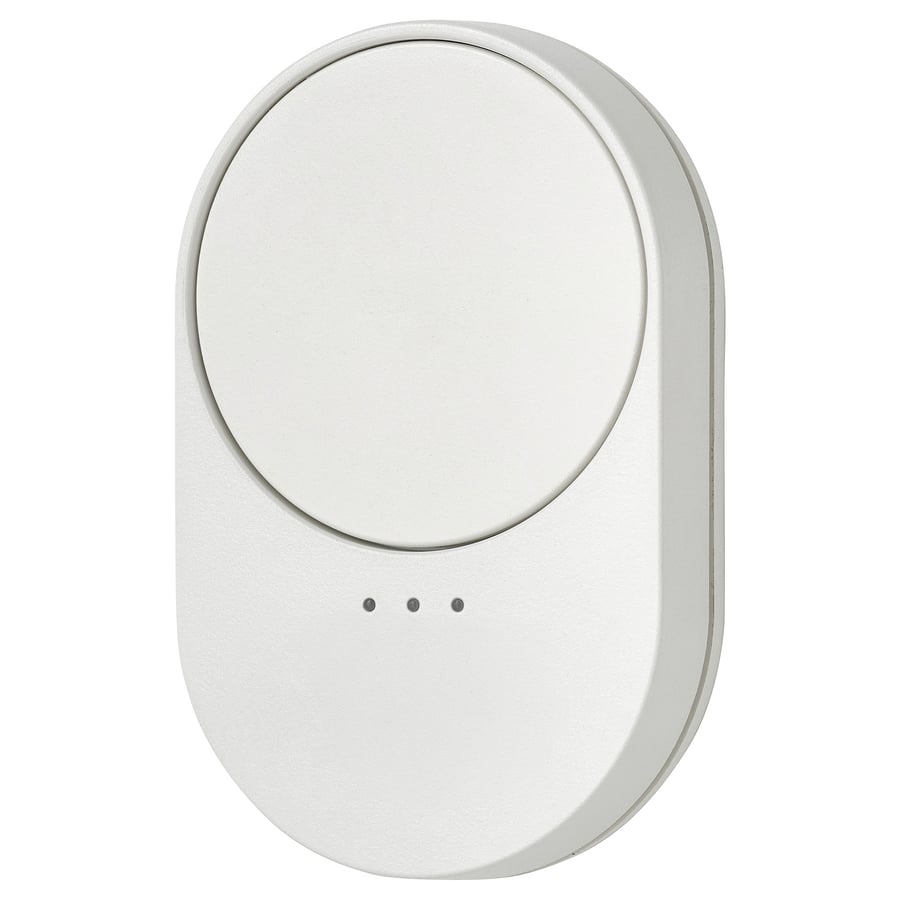
These have worked well, but only because the underlying mesh was already strong.
Fun with BILRESA Automations
I use the BILRESA remote as a bedside companion to control the lights and the ACs. It's one of the few automations my wife actually uses. Press and hold on the buttons will raise or lower the temp on the AC (and softly announces the new temp on a bedroom speaker). Single tap on the top button turns off the bedroom lights. The bottom button turns off the adjacent bathroom lights. Finally double tap on either of them will turn the AC on or off.
Coverage Was Harder Than Expected
My house has concrete walls and reinforced concrete construction.
Those same materials made Wi-Fi difficult—I ended up deploying six Wi-Fi access points throughout the property.
Thread faced many of the same challenges.
Just because Thread is a mesh protocol doesn't mean coverage is automatic. Radio signals still have to penetrate walls, and concrete with rebar is particularly difficult.
I ended up thinking about Thread coverage much like Wi-Fi coverage:
- Place powered devices throughout the house.
- Fill dead spots with additional routers.
- Test, adjust, and repeat.
The difference is that instead of adding Wi-Fi access points, you're adding Thread Routers.
My Advice
If you're starting a Home Assistant Thread network:
- Start with a proper Thread Border Router.
- Plan for mains-powered Thread devices throughout the house.
- Use smart plugs as movable "mesh extenders" while tuning coverage.
- Add battery-powered sensors only after the mesh is solid.
- Expect to spend some time optimizing placement, especially in homes with concrete walls.
Final Thoughts
Once everything was in place, the network became extremely stable and super fast.
The biggest mistake people make is treating Thread like Wi-Fi or Zigbee and expecting a few battery devices to magically create a mesh.
Think of mains-powered devices as the infrastructure and battery-powered devices as the clients. Build the infrastructure first, and everything else becomes much easier.
Troubleshooting Tips
You typically don't add a naked Thread device. Thread is the communication layer, but typically devices will use Matter to connect to your system at a higher level.
It's really Matter that matters. It's the application layer that you see. The Thread stuff is mostly hidden from the user. When you add a Matter/Thread device, you scan a QR code using the HA companion app, this is the iOS or Android app. The phone then uses its Bluetooth interface to configure the underlying Thread radio in the device. Mostly this works until it doesn't. Be very careful when clicking around in the HA Thread Border Router section. Resetting the ZBT-2 can result in having to re-add all your thread devices, which can be quite painful.
I made this mistake fairly early on and had to redo all my devices. Currently I have about 30 Thread devices. I would not want to have to reset all of these.
Thread vs. Wi-Fi: Under the Hood
If you already know how a standard IP network works—routers, SSIDs, DHCP, NAT, and Wi-Fi access points—understanding Thread is mostly a matter of unlearning star-topology assumptions.
Both protocols ultimately speak IP (Thread is natively IPv6 end-to-end), but how they manage the physical airspace and device states are completely different.
1. Topology: Star vs. Mesh
- Wi-Fi is a hub-and-spoke star network. Every client device must maintain a direct, high-frequency RF link back to a central Access Point. If a device is too far from an AP or blocked by concrete walls, it drops off. To scale coverage, you add more APs, wire them back to your local switch, and manage roaming.
- Thread is a native, self-healing mesh. Every mains-powered node acts as a router. Packets hop dynamically from device to device. You don't wire up a backhaul for every endpoint; the mesh figures out its own paths around interference and physical obstacles.
2. Radio & Power Profiles
- Wi-Fi is built for high-throughput (megabits to gigabits). Radios consume massive amounts of power maintaining associations, listening for beacons, and handling heavy TCP/IP stack overhead. Putting a battery-powered motion sensor on Wi-Fi is a maintenance nightmare.
- Thread runs on IEEE 802.15.4 radios at roughly 250 kbps in the 2.4 GHz band. It features Sleepy End Devices (SEDs) that sleep 99% of the time, waking asynchronously to push tiny packets through the nearest mesh router. That's how a door sensor runs for years on a coin cell.
3. Spectrum & Channel Planning
Both protocols occupy the crowded 2.4 GHz ISM band, but how they carve up and utilize that spectrum reveals why putting too many devices on Wi-Fi creates a radio bottleneck while Thread handles it cleanly.
- Wi-Fi uses massive 20 MHz wide channels. Because the 2.4 GHz band is only about 83 MHz wide, there are only three non-overlapping channels (1, 6, and 11). If you have multiple access points or neighboring houses, they're forced to share or stomp on those same three wide channels—high contention, airtime congestion, and dropped packets if your channel planning isn't pristine.
- Thread carves the same 2.4 GHz spectrum into sixteen distinct 802.15.4 channels (numbered 11 through 26) that are only 2 MHz wide each. Because Thread channels are one-tenth the width of Wi-Fi channels, you can deliberately pick one that sits neatly in the gaps between your heavy Wi-Fi channels (for example, running Thread on channel 15 or 20 if your Wi-Fi is parked tightly on channels 1, 6, and 11). Thread networks can also scan the spectrum at boot, evaluate noise and interference, and select the cleanest channel—if interference spikes, a Thread mesh can even migrate its entire operation to a new channel without breaking your device associations.
4. Provisioning and "Joining"
- Wi-Fi is straightforward: you provision a client by pushing an SSID and a pre-shared WPA2/3 key directly to the device so it can authenticate with your router.
- Thread has no broadcast SSIDs. A fresh-out-of-the-box Thread device has no network key and doesn't listen for a beacon. Instead, commissioning relies on an out-of-band Bluetooth Low Energy (BLE) handshake. When you scan a Matter QR code in Home Assistant, your phone connects via BLE, pushes the cryptographically secure Thread Operational Dataset (including the Master Key and Extended PAN ID) directly into the device, and tells it to drop its Bluetooth radio and join the mesh.
Summary for Network Engineers
Think of Wi-Fi as your core local infrastructure—high bandwidth, heavy lifting, wired backhauls. Think of Thread as a dedicated, low-power sub-network anchored by a Border Router (like the ZBT-2) that bridges isolated 802.15.4 mesh packets directly onto your standard local IP network without bogging down your Wi-Fi access points with dozens of chatty, low-bandwidth IoT clients.